Tuesday, April 27, 2010
Rain
Monday, April 26, 2010
Project 52 - 15th date - Light painting

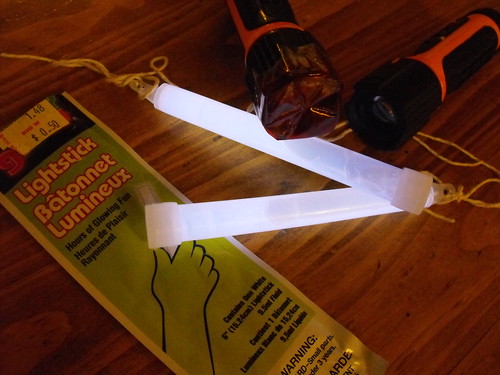
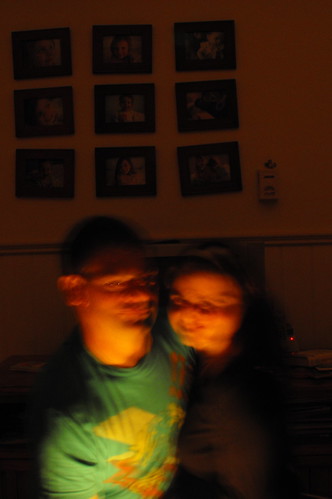


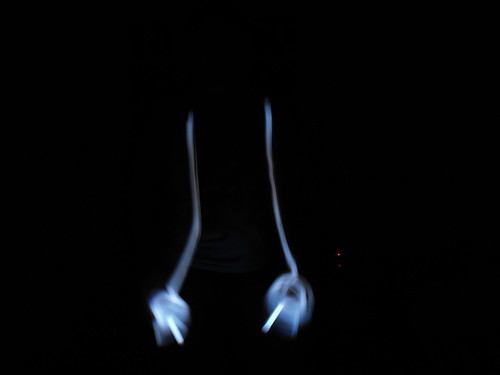


We laughed a lot and it was cool to see what we could make. After we had run out of ideas, we watched a couple of youtube videos about light painting.
To find out more about Project 52 check out Simply Modern Mom for details.
Making things better
Like the new look of the Crisis here? I have been getting really annoyed because I haven't been able to do some of the things I wanted so I am now all updated and on Blogger-in-Draft. Don't ask me why it's better other than the pretty new layout. I am not quite as technically minded as I was 10 years ago! I just clicked and clicked and ta da! New look.
Back soon.
Back soon.
Saturday, April 24, 2010
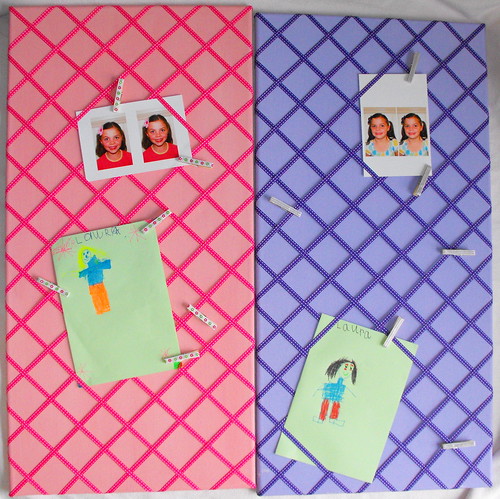
Ribbon notice boards
Esther and Ellamay share a small bedroom. I am currently 'trying' to get some changes made in there to improve storage and make it pretty for two almost 6 year olds (where has the time gone?). One of the things that has been changed is the wardrobe door has been cut down the middle to make two narrow doors so that the door doesn't take up so much room when it is open. This will allow room for a dresser or something. I am so glad I am married to someone who can do these things! Thank you, Tim.
On the new wardrobe doors I decided to put some notice boards. I didn't want the girls to have regular pin boards because the drawing pins are not a good idea with small children. I have seen the ribbon board idea around but the ones I saw were all the wrong size or they were padded fabric things. I decided to make my own. Here is what I did.
I used:
~35cm x 70cm stretched canvas (this size because it fits on the wardrobe doors)
~acrylic paints
~ribbon (Celebration brand from Big W)
~hot glue gun and glue sticks
First, I painted the canvas. I was just using the paints I had in the house so I had to mix my colours.
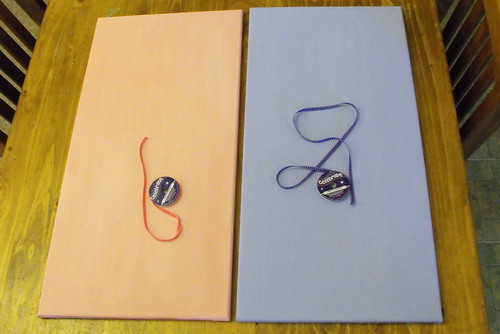
After it was dry, I measured and marked evenly around the canvas. My canvas was 35cm x 70cm so my spaces are 7cm apart. I cut the ribbon long enough to wrap around the edge. I didn't measure - just eye ball it.
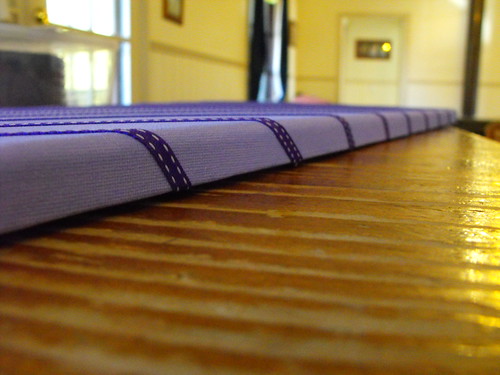
I used the hot glue gun to glue the ribbon down on the back of the canvas, making sure that the ribbon was centred on the mark as much as possible. It would be a good idea to start on the corner of the canvas. I didn't and it took me a while to figure out why things were looking so twisted. :-)
 Next, I did the ribbon in the other direction, weaving it through as I went.
  The weaving really made so much difference. I was a little worried it wouldn't hold things the way I wanted but it has turned out great. I also made some ribbon covered pegs to help hold things on if needed.
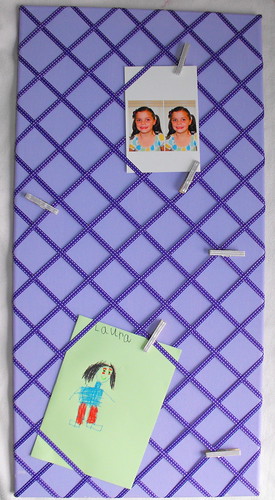 The girls love them so I am now the world's greatest mum again (until the next time I don't let them do what they want!). Another idea they had was to use it to hold some of their hair clips too. Good idea! I just need to go and measure up the doors and work out where to hang them. I will have to make one for Amelia too.
 I will be back soon with another canvas project.
Wednesday, April 21, 2010
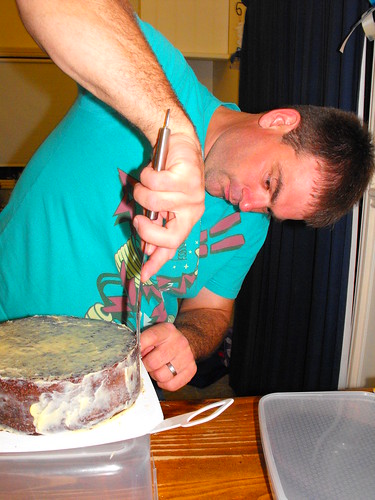
Project 52 - 14th - Cake decorating

It was my date this week. I had just made some Chocolate Mud Cakes during the day and really wanted to get them finished so we could take them to town the next day for our families. So our date was covering the cakes in ganache and decorating them.
I showed Tim what to do and he put the crumb coats on both cakes. He did it like he was rendering something. Funny how people are different. I've never seen it as rendering before but I guess it is.
 I put the top coats on.
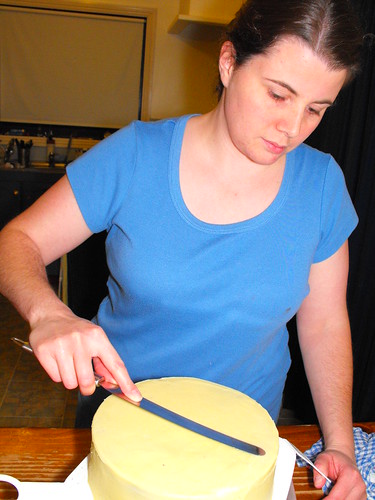 While I worked on that, Tim got my sewing machine out and serviced it. I have been trying to get him to do that for a while now.
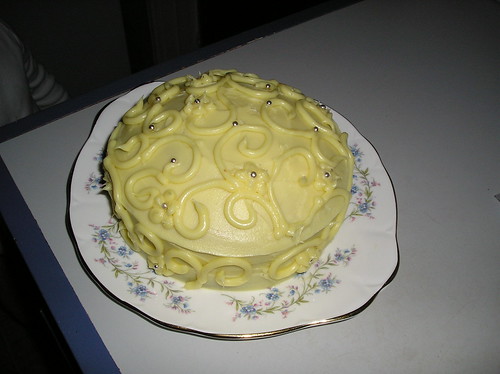
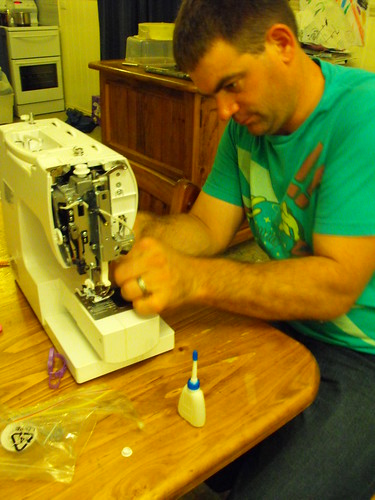 Then we mixed up some ganache with food colouring and put it in a click top bag with the corner snipped to pipe some decorations. Tim decided we should make a "14" cake in celebration of our 14th date.
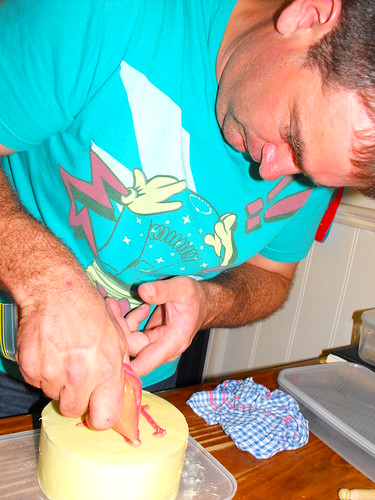 And I did some basic flowers on the other cake.
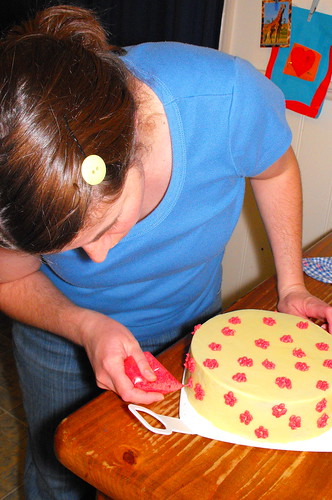 It was midnight by the time we were done. I had hoped it would be a fun thing, but it was a last minute idea and I really needed to have the cakes covered with ganache already, so we could just have some fun with different kinds of decorating. It was good to share the time together though. Also, we changed our date from Friday night to Saturday night in hopes we won't be so exhausted. We will see how that works for us.
Catch up with everyone else in Project 52 here.
Just wanted to mention that I am having trouble commenting on other people's dates. Not sure why. I will have to investigate that one. Everyone is doing really well though.
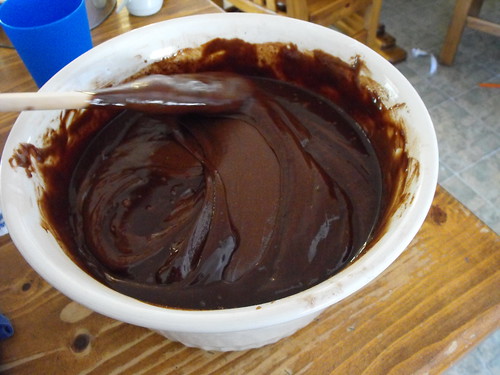
Chocolate Mud Cake
 Every year for Easter, I make this Mud cake recipe to take with us to family celebrations. This year I was a few weeks late making them. Here is the recipe.
Total cooking time: 1 3/4 hours
250 g (8 oz) butter
250 g (8 oz) dark chocolate
2 tablespoons instant espresso coffee powder or granules
185 ml (6 oz) hot water
150 g (5 oz) self-raising flour
150 g (5 oz) plain flour
60 g (2 oz) cocoa powder
1/2 teaspoon bicarbonate of soda
550 g (1lb 2 oz) caster sugar
4 eggs
2 tablespoons oil
125 ml (4 fl oz) buttermilk
Preheat the oven to warm 160 C. Brush a deep 22 cm (9 inch) round cake tin with melted butter or oil. Line the base and side with baking paper, making sure the paper around the side extends at least 5 cm (2 inches) above the top edge.
Put the butter, chocolate and coffee in a pan with 185 ml hot water. Stir over low heat until smooth. Remove from the heat.
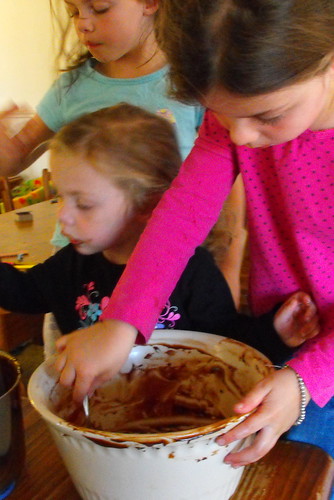
Sift the flours, cocoa and bicarbonate of soda into a large bowl. Stir in the sugar and make a well in the centre. Add the combined eggs, oil and buttermilk and, using a large metal spoon, slowly stir to start incorporating the dry ingredients. Gradually stir in the melted chocolate mixture.
Pour the mixture into the tin and bake for 1 3/4 hours. Test the centre with a skewer - the skewer may just appear slightly wet. Remove the cake from the oven unless the centre looks raw. If the cake needs a little longer, give it an extra 5-10 minutes. Leave the cake in the tin until completely cold, then turn out and wrap in plastic wrap.
Storage time: Keep in the fridge in an airtight container for up to 3 weeks or in a cool dry place for up to a week. Can be frozen for up to 2 months.
My Tips: Use eating chocolate for a fudgy texture to your mud cake. I just use the supermarket brand chocolate. Not the really cheap stuff, the next price up from that :-).
If cutting the dome off the top and slicing the cake horizontally to decorate and fill, make sure the cake is cold from the fridge to avoid breaking. If it does break, try "gluing" it back together with the ganache.
White Chocolate Ganache
1/2 cup (125 ml) cream
300 g white chocolate, chopped
Bring cream to a boil in a small saucepan; pour over chocolate in small bowl, stirring until chocolate melts. I usually put the bowl over a saucepan of water (double boiler style) to make sure the ganache is smooth. Cover, refrigerate, stirring occasionally, about 30 minutes or until mixture is spreadable.
To cover and fill the above cake you will probably need at least 2 batches. Then you can have enough for a crumb coat, top coat and some left for decorating.
Enjoy! My secret recipe is out.
(From: Making Beautiful Cakes - Family Circle Step-by-Step with a few additions from me)
Wednesday, April 14, 2010
Project 52 - 13th - NCIS
Friday night crept up on us this week. We had hardly even mentioned the date night during the week let alone tried to work out who's turn it was.
We are big NCIS fans and there was a re-run on the TV so we decided to watch that. Tim had been watching episodes that hadn't screened in Australia of NCIS on YouTube earlier in the week so we sat and watch an episode on there too. Perhaps it was the time of night, but we seemed to laugh our way through them. You know, more than we usually would at the little jokes on there.
Anyway, as usual, couch time is down time for us. We managed a little bit of conversation in between and my favourite part was just sitting with Tim. We are rarely still so date nights are always so good just to be still together.
We worked out it is my turn to come up with the dates so I had better get thinking!
Go to Simply Modern Mom for more on Project 52.
Painting...

I am painting for a couple of projects at the moment. On Canvas. It's fun. I hope to have them finished over the next week so I will post about them then. The happy photo above is just to prove I have been doing things. The kids have gone back to school now and although I was glad for the holidays to start, I was glad for them to finish too. So really I should do some housework instead of making things. I know which one I prefer though. Back soon with Project 52 post.
Tuesday, April 6, 2010
Project 52 - 11th and 12th dates
 Week 11 wasn't so much a date as it was about being in the same house. The last months over summer have been crazy busy. Tim has been doing fire training and working long hours so we have had very limited time. Our date was supposed to be on Friday night but Tim was going away for a weekend of fire training up in a national park near Mildura. We tried for Thursday night. Tim was home late from work though and then he needed to pack because he was leaving for to catch the plane early. So we collected up things he needed and did washing.
Good Friday was our 12th date. We had been busy in town at the Easter Fair with the kids during the day and so by the time it got to date time of night we were slumped on the couch having a cup of tea. I was stitching like crazy trying to finish some Easter hair clips for the kids to wear to the family lunch we were going to on Easter Saturday. I guess you could call it a date. Really though, the whole weekend was a date for me. Having Tim home all weekend spending time with me and with the girls was the best. As I said before, Tim has been so busy, it was a real treat to have him home.
If I had to say my favourite part of the weekend though, on Good Friday, we had fish and chips for tea at the Botanical Gardens. The kids played happily and we sat on the picnic blanket and enjoyed being together. And Tim was a hero dad because he pushed his girls on the swings.
Monday, April 5, 2010
Another cute bag and a hair clip
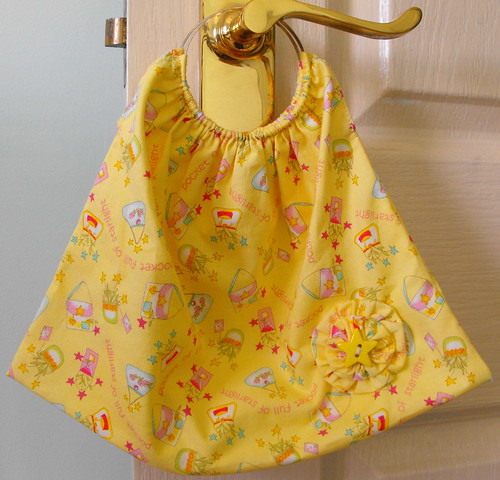

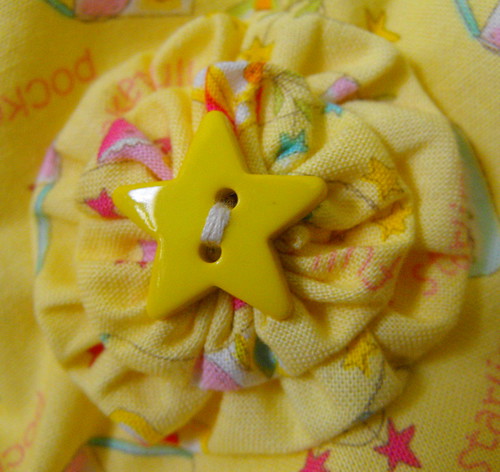
 Another birthday and another one of these bags. Just like the ones I made here and here. They are so straight forward and easy to make. I really recommend them. I made a hair clip to match this time. Very cute.
 More hair clips to post pictures of when I get around to it. I made Easter ones. Because I could :-)
Sunday, April 4, 2010
Easter
A few Easter weekend photos.
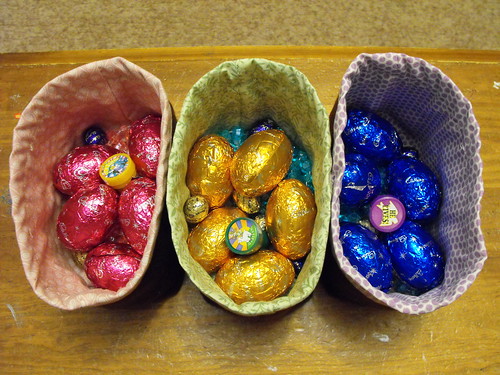 The Easter Bunny left 3 excited little girls all these goodies. The felt-lined baskets I made.
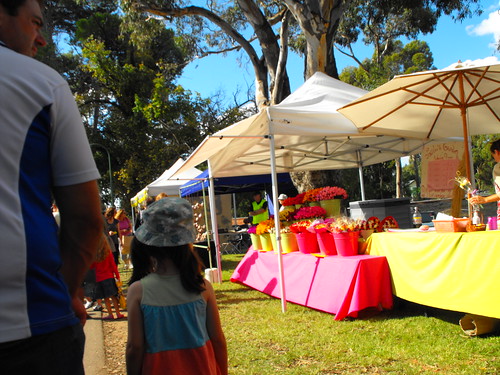
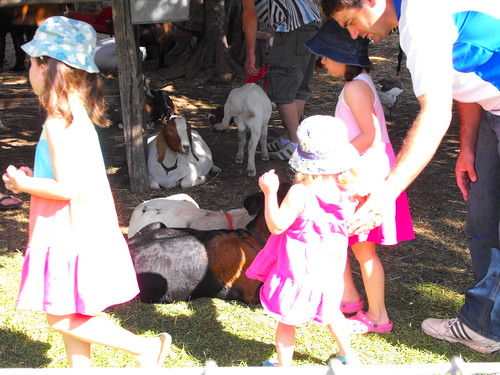 The Bendigo Easter Fair. Tim and the kids at Farmer Daryl's Farm.
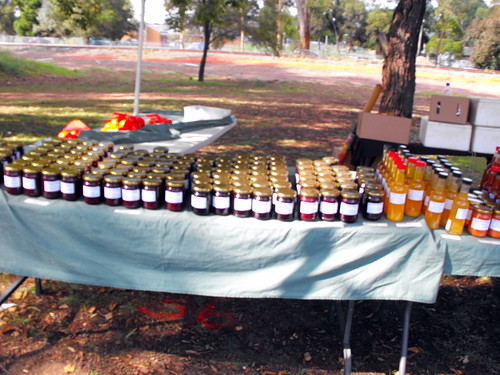 Market stalls at the market
 We had a great long weekend. We went to the fair on Good Friday. After, we went to the Bontanical Gardens for play and relax in the sunshine. Fish and Chips for tea.
The Easter Bunny left 3 excited little girls all these goodies. The felt-lined baskets I made. The Bendigo Easter Fair. Tim and the kids at Farmer Daryl's Farm. Market stalls at the market We had a great long weekend. We went to the fair on Good Friday. After, we went to the Bontanical Gardens for play and relax in the sunshine. Fish and Chips for tea.Easter Saturday we spent with family at their new house, an hour and a half away. Easter Sunday we spent at home. We have more family time coming up too.
Hope everyone had a happy Easter. I have.
Easter tombs
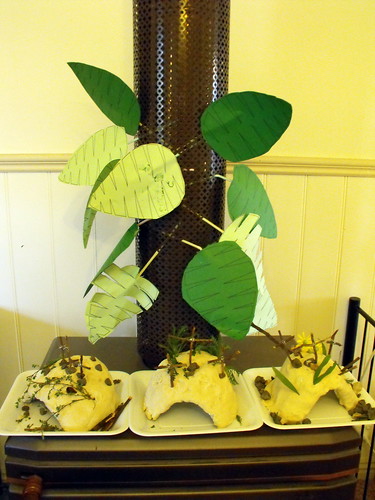 Over the last week, we have been trying to fit in some Easter crafting. The kids have decorated lots of cardboard cut outs of eggs and half coloured in lots pictures. We made palm branches for Palm Sunday and then I got all inspired to make Easter tombs with them. Here is what we came up with.
 Esther's,
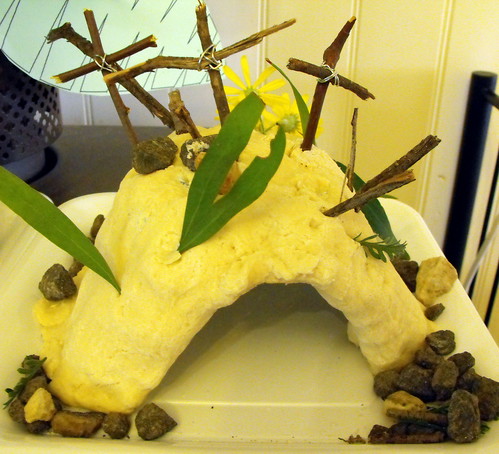 Ellamay's and
Amelia's.
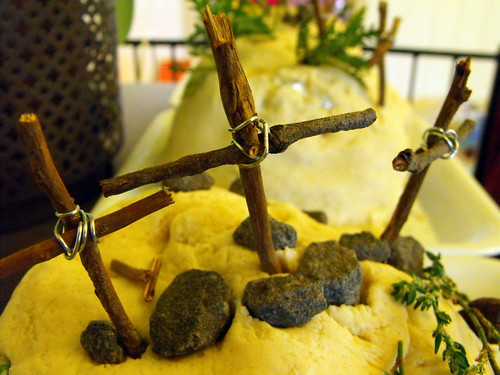
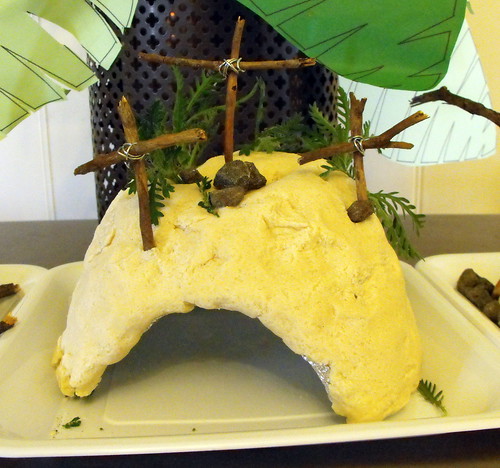
It is made out of aluminium foil underneath with salt dough over the top. It was kind of a rushed project because I actually told the girls what we were going to do before I had it prepared it. Bad idea. I got the inspiration from a website with a lot of Easter crafts on it which I can't find now. (Sorry about that.) The Easter tomb on there used florist foam as the base and then was decorated with similar things. We put a piece of purple fabric over the centre cross on Good Friday and then the idea is to put the stone in front of the tomb so it can be "rolled away" on Easter Sunday. Then you place a piece of white cloth inside the tomb to symbolise the resurrection. This was a great way to make the Easter story a little bit more real to the kids.
If we do this again next year, I will get prepared more before hand. I will use a different salt dough recipe and we will paint it. AND, we won't be so busy at Easter time so we will have time to finish them off more.
A Resurrection set and little felt Mary's
 Happy Easter! It's Easter Sunday and I thought I would show you my Resurrection Set. I didn't get it finished. If you have been reading this blog, you would have already seen my other characters here and here. I was really hoping to make a full set something like this one. Not going to happen with Esther and Ellamay on school holidays and when children don't settle at night to sleep! All my usual complaints really. I will have it done in time for next Easter though. (Hopefully.) It is a little dangerous to not finish this project for the deadline (Easter) as it will likely be added to the 'mid-craft' pile.
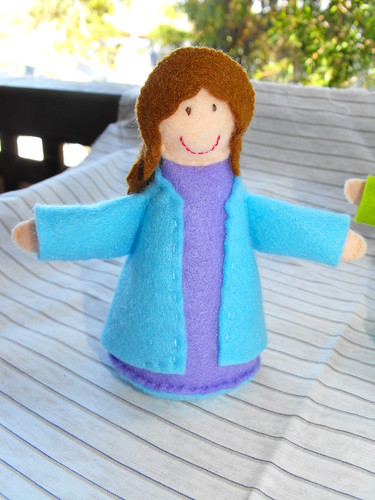 Do you like how my Mary's turned out? The one above looks like a doctor I think. All she needs is a stethoscope. And her hairstyle is a little... big.
I really like how they have all turned out. They look happy. And so they should be. Jesus is risen from the dead!
Subscribe to:
Posts (Atom)