Saturday, March 3, 2012

Chandeliers to DIY

The chandelier

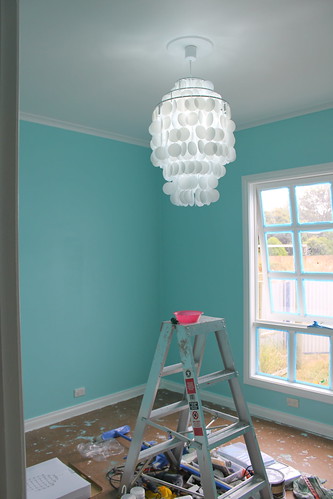
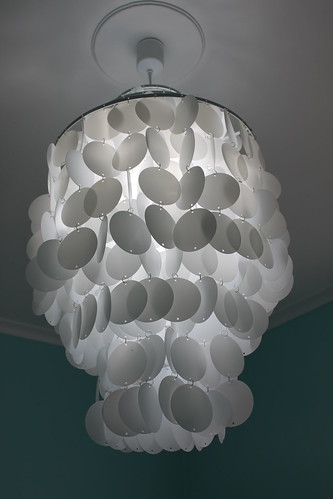
After being able to buy this chandelier for only $32 I gave up my plan to DIY one. I did however do lots of research on chandeliers (mainly on Pintrest) to find some inspiration on how to tackle it.

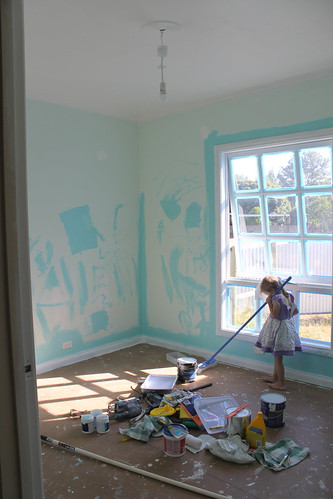
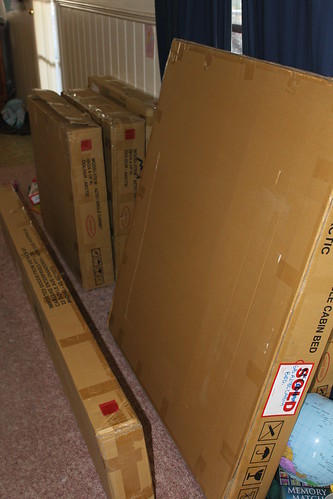
I am only a little disappointed I didn't get to make one. I was going to use milk bottles. Every time we finished a bottle of milk, I cut out circles ready to construct a masterpiece. It was going to be a fantastic crafting feat of recycling, upcycling and just being down right clever. I bought jump rings off eBay and had worked out how to adjust the hanging basket I had to suit what I needed. Trouble was, I had no time. Too much to do and I am an impatient crafter. So I admitted defeat before I began and bought one instead. The chandelier really makes an impact in Esther and Ellamay's room and adds a bit of fabulous to the space. And little girls deserve a fabulous space, don't you think?

As I am a hopeless dreamer when it comes to making stuff, I love to see what others have made (I think that is why Pintrest is my weakness!). Here are a bunch of links to some very cool chandeliers that people have made.

Wax paper chandelier from the Design Sponge

Another wax paper chandelier using the tutorial from the Design Sponge

Flower chandeliers

Flower chandelier using white fabric

This one uses a paper lantern as a base and then is covered in flowers

Cherry blossom chandelier. This is very straight forward and the basic idea could be used for so many different ideas.

So there are a few links. I am loving that some of these are more about decorating that actually being a light shade. Some of them you probably wouldn't want near a light globe :-)

Friday, March 2, 2012

A beautiful room for 2 girls

It has been such a long time coming... We have finally finished one room in house renovations. Esther and Ellamay have moved into a bigger bedroom and it is looking fabulous (even if I do say so myself).

Blue room reno

After all the hard work was done (mainly done by Tim - Thanks darling) and before we started painting, I decided to be a cool mum and let the kids have a paint brush each and paint some pictures on the walls.

How to be a cool mum


Painting fun


Art by the kids before reno

Note to self: Don't let kids paint on walls before painting again. I love that we did it, but the walls needed to be sanded again before we could paint because kids don't care about making smooth pictures when they are putting graffiti on the wall.

Blue room nearly finished

Isn't this colour divine? It is called "Mainstream" by British Paints. And can I just point out one of my favourite things of the room... that chandelier! How fun is that? Esther and Ellamay saw it in a shop last year and wanted it. It was over $100 though, and I didn't want to spend that much. I decided to have a go at DIY and found a few tutorials online that had a similar style to this. Then one day I was walking past the shop and I saw they had a 70% sign on the chandelier. Oh happy day! I bought it for $32.

Flat pack boxes

These are some of the boxes from the flat pack loft beds we bought the girls, sitting waiting to be constructed. That was a task I am glad Tim took care of! I tried to put the bookshelf together and only managed to get 2 pieces together before I gave up in disgust!

We are just waiting on a new blind for the window and then I will take pictures of the final result. Plus, having 2 girls in there means it will need a tidy :-)

We have made a start on Amelia's new room but it is slow going. I don't know how people renovate whole houses and keep up the momentum. Amelia is camping in the lounge room until the room is finished. Her old room was just a bunch of things that lived in that room before she was born. Now she can have her own special space too.

Tomorrow I will share the tutorials I found for that chandelier.